Custom UI Meshes in Unity
by Christopher Mielack
First published: 2018-11-25
Last updated: 2023-10-07
Intro
You want to create custom meshes for your Unity3D Ui, but you found the documentation lacking?
In this blog post, I will describe
- how to implement a bare-essentials custom Unity UI mesh
- point out all the pitfalls that leave you looking at invisible or non-existent meshes
TL;DR
To implement your own UI mesh, derive from MaskableGraphic and implement OnPopulateMesh().
Don’t forget to call SetVerticesDirty/SetMaterialDirty upon changes to texture or other editor-settable properties that influence your UI-elements and should trigger a re-rendering.
Don’t forget to set the UIVertex’s color, otherwise you won’t see anything due to alpha=0, i.e. full transparency.
You can look at the full, minimal code example, here.
Of Rendering Mini Maps Inside Unity UI
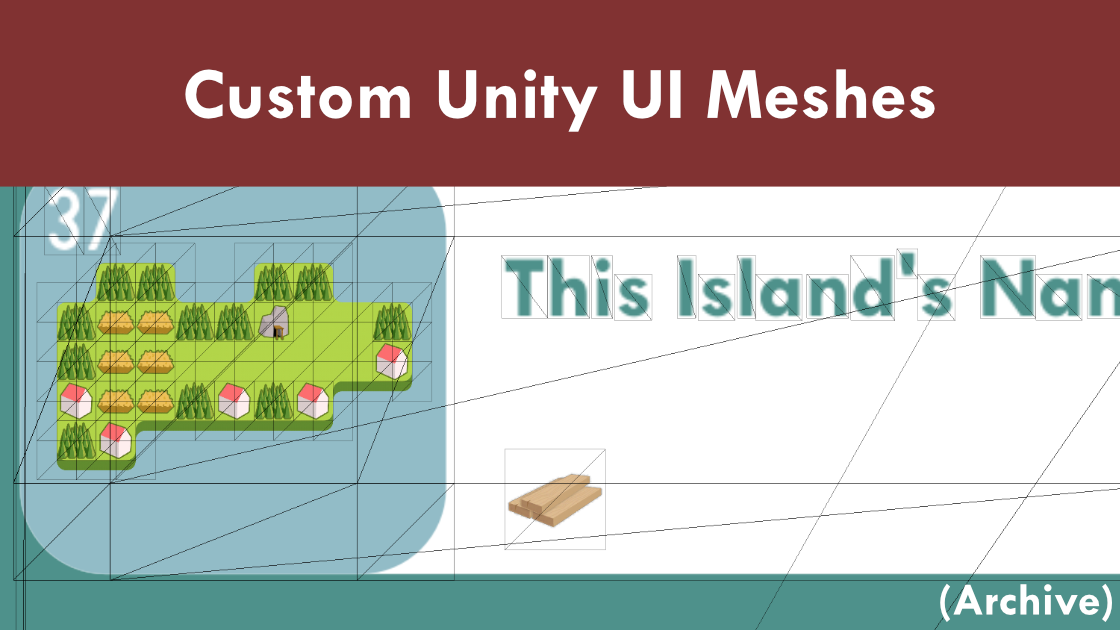
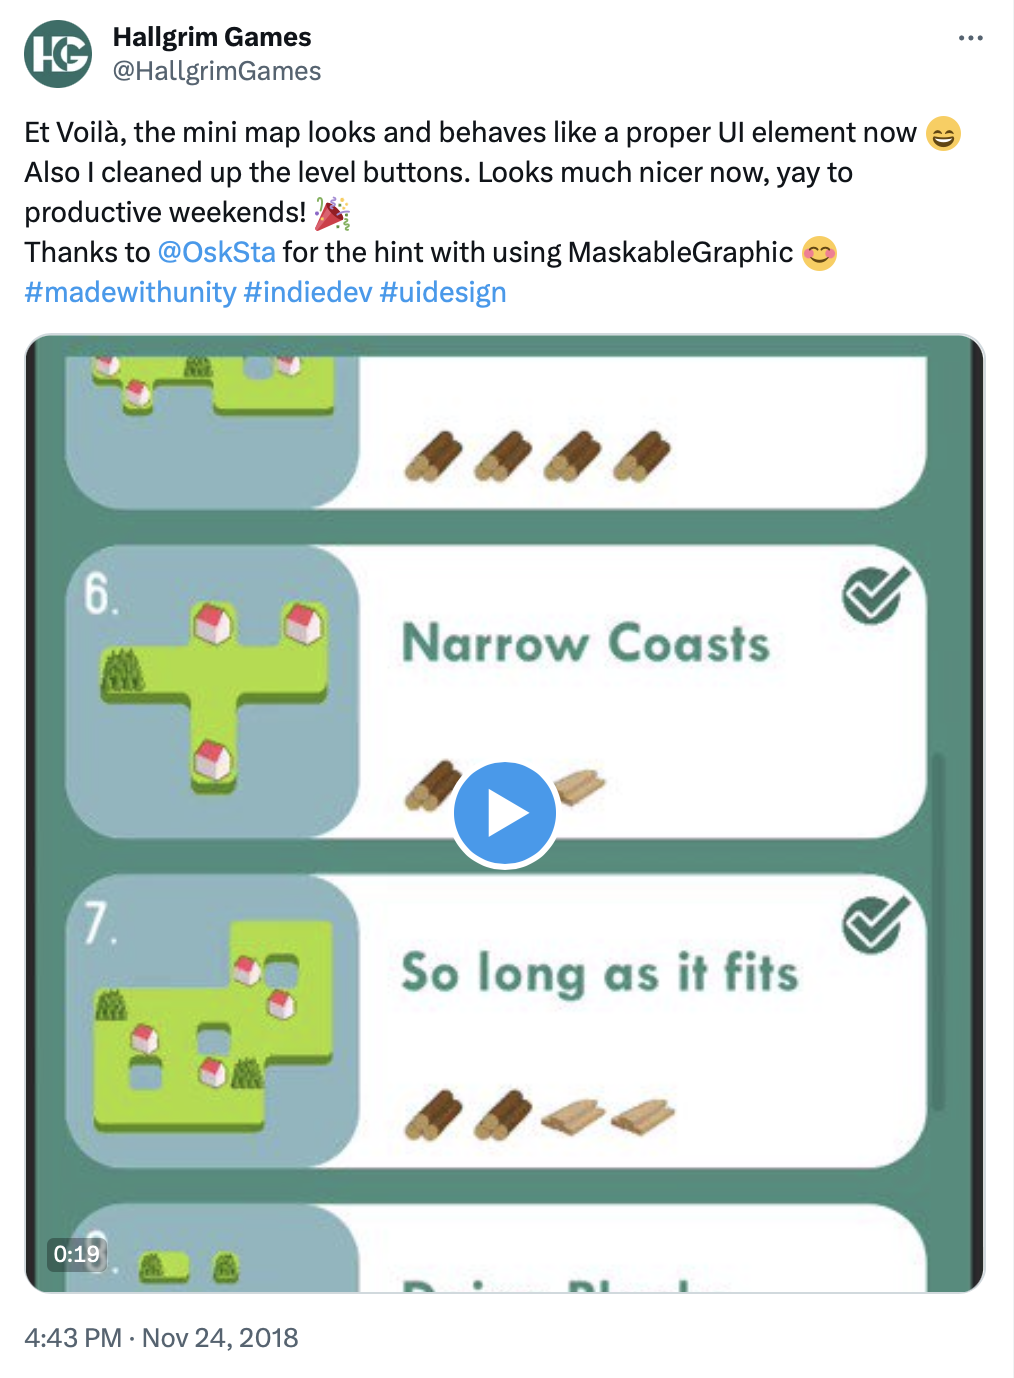
My use case was simple: I wanted to create level previews for my current puzzle game project Puzzle Pelago, and I wanted to try making a simple tiling system based on a custom UI mesh. The requirements I was eyeing was that it should behave like all the other UI elements in unity, i.e. it should fit inside its RectTransform, it should work inside a masked ScrollView, and it should respond to disabled state tinting since it would be living inside of a button.
What I ended up with looks something like this:
The path there was not that bad, but still frustrating at times since all I found online was forum posts and unity’s own source code to go off of. So here I want to build a simplified example in which we will render a grid of textured quads inside a UI element, using one script. This should take all the hurdles for building any kind of (flat, 2d) UI geometry you might want to build.
Unity Scene Setup
Alright, let’s set up the scene as follows:
- Open the Unity project and Scene you want to work in. If there is no Canvas in the scene yet, create one! For this tutorial, I left all the properties at default.
- Inside the Canvas, create a
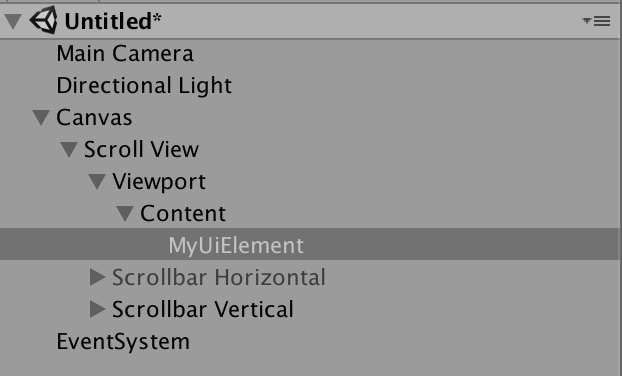
ScrollView- we will want to check that our new UI component works inside of that! - Inside the
ScrollView> Viewport > Content, create new empty game object - let’s call itMyUiElement - Add a
CanvasRenderercomponent to the new game object, and then add new script:MyUiElement - Open the new script in your favourite C# editor (I love Rider btw.), and go back to Unity’s scene.
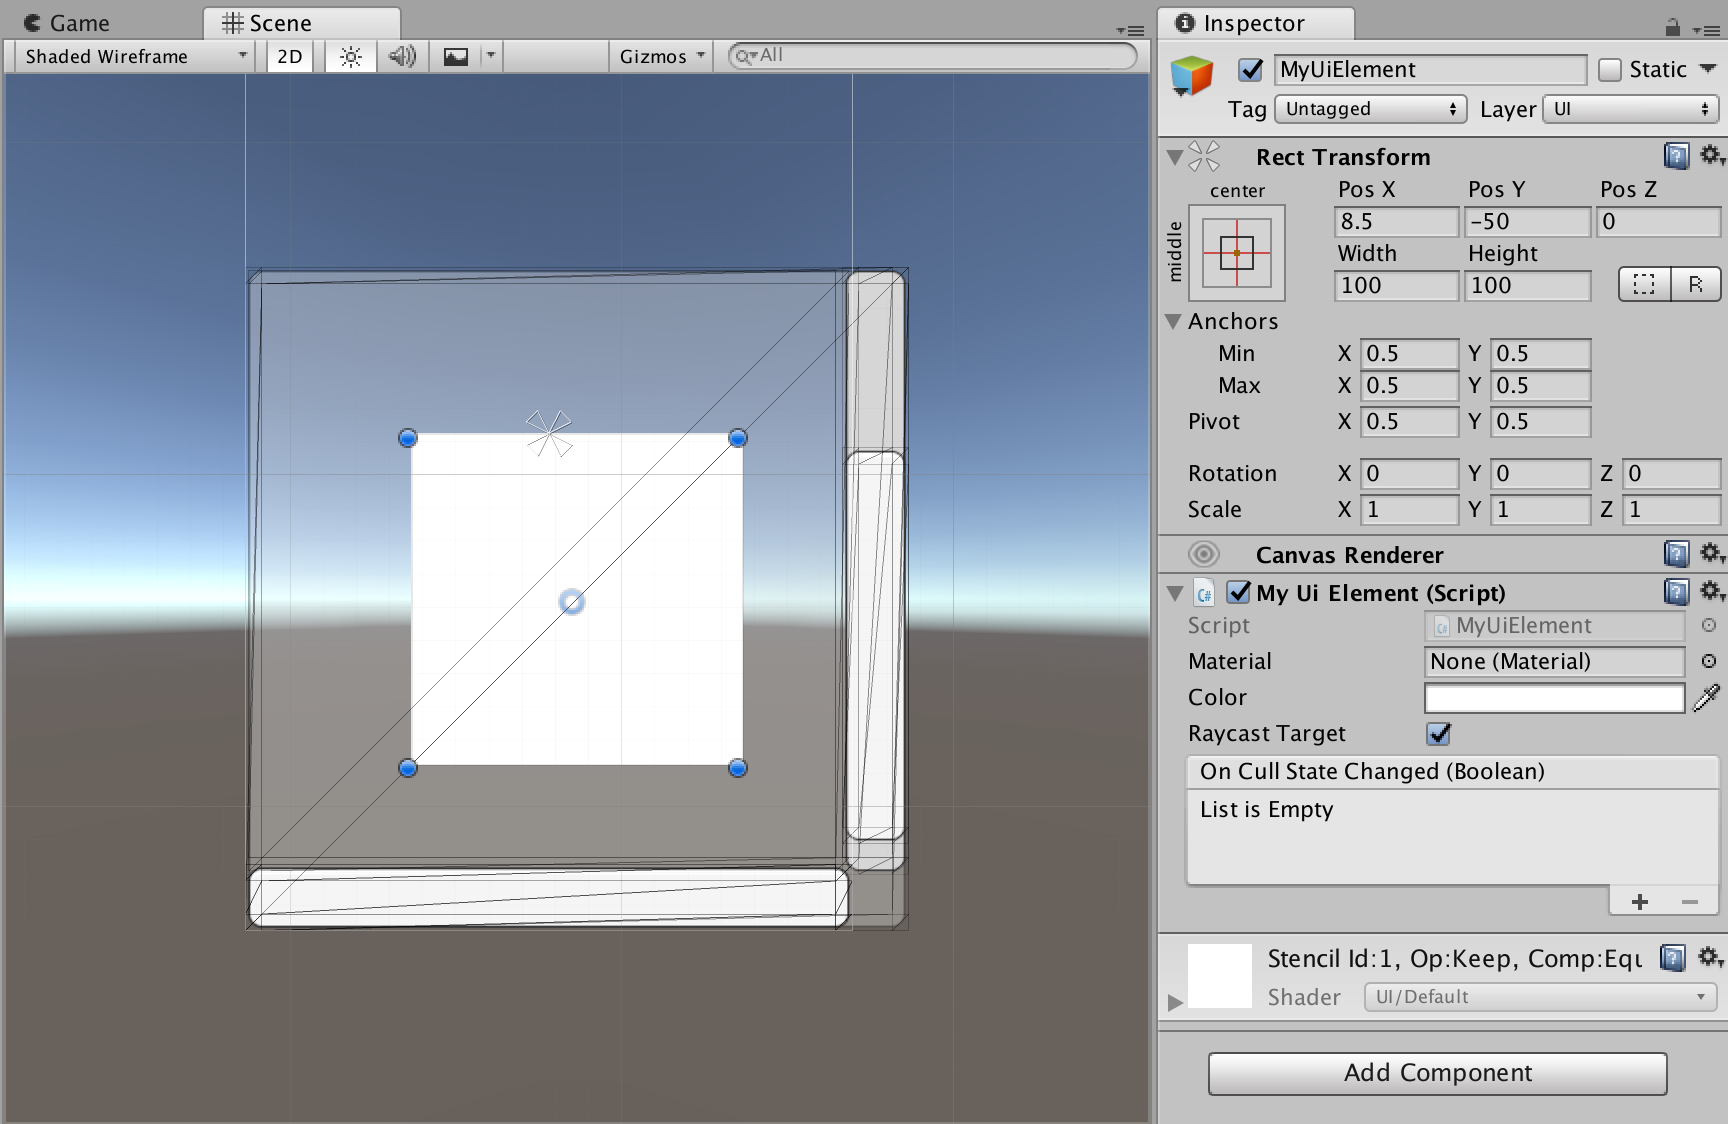
- To make our lives easier, we will want to set the Scene View’s render mode to “Shaded Wireframe” so we can see our UI mesh geometry in detail. Also, it is useful to switch to the 2D view perspective, select our
MyUiElementobject and press F, so unity zooms in just right.
Implementing the Custom Unity UI Mesh Script in C#
Now we can go ahead and implement our new C# script!
First off, our new script needs to at least derive from Graphic. But, if masking inside of ScrollViews, for example, needs to work, we better derive from MaskableGraphic. Otherwise, our graphics will render outside of the mask, too. LOL.
Also, we want to be able to set the size of the grid cells in the editor, so we should add a public field for that.
public class MyUiElement : MaskableGraphic
{
    public float GridCellSize = 40f;
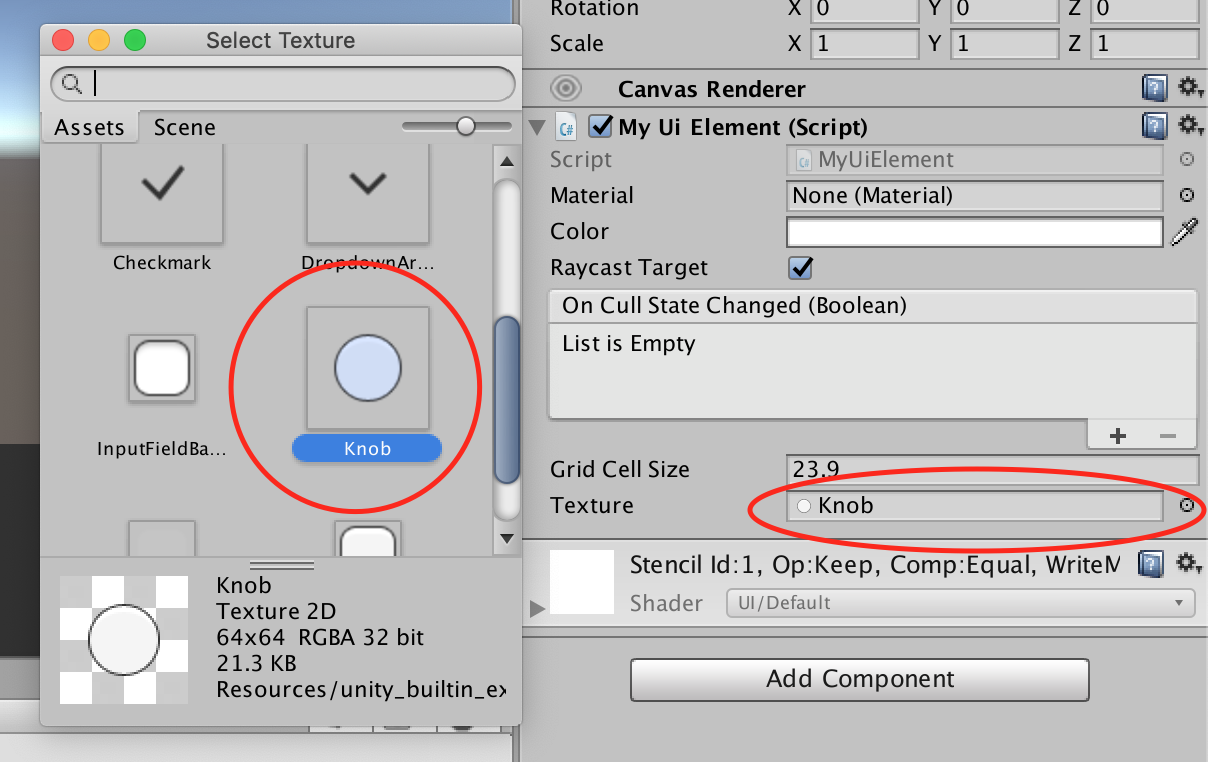
Next, we want to be able to use a texture for our UI elements. Looking at Unity’s own implementation, e.g. that of the Graphic (source code) base class or the default Image (source code) UI element, we can see that a common pattern is to …
… define Texture/Material slots as properties, such that when the texture is changed in the inspector, we can trigger Unity UI to re-render even while in edit mode. This is done by calling SetMaterialDirty() and SetVerticesDirty().
… implement mainTexture as a default overridden property such that if no texture is provided, we return the default white texture.
    [SerializeField]
    Texture m_Texture;

    // make it such that unity will trigger our ui element to redraw whenever we change the texture in the inspector
    public Texture texture
    {
        get
        {
            return m_Texture;
        }
        set
        {
            if (m_Texture == value)
                return;

            m_Texture = value;
            SetVerticesDirty();
            SetMaterialDirty();
        }
    }
    public override Texture mainTexture
    {
        get
        {
            return m_Texture == null ? s_WhiteTexture : m_Texture;
        }
    }
Next, we have to override OnPopulateMesh() to do our rendering. It takes a useful little helper object for building meshes, the VertexHelper, as its argument. It tracks the vertex indices for you, and lets you add vertices, UVs and tris without having to do lots of array arithmetic and index tracking. It must be Clear()’ed before building a new mesh.
I found it useful (and you may, too) to use a little quad-making helper function, AddQuad():
    // helper to easily create quads for our ui mesh. You could make any triangle-based geometry other than quads, too!
    void AddQuad(VertexHelper vh, Vector2 corner1, Vector2 corner2, Vector2 uvCorner1, Vector2 uvCorner2)
    {
        var i = vh.currentVertCount;

        UIVertex vert = new UIVertex();
        vert.color = this.color;  // Do not forget to set this, otherwise

        vert.position = corner1;
        vert.uv0 = uvCorner1;
        vh.AddVert(vert);

        vert.position = new Vector2(corner2.x, corner1.y);
        vert.uv0 = new Vector2(uvCorner2.x, uvCorner1.y);
        vh.AddVert(vert);

        vert.position = corner2;
        vert.uv0 = uvCorner2;
        vh.AddVert(vert);

        vert.position = new Vector2(corner1.x, corner2.y);
        vert.uv0 = new Vector2(uvCorner1.x, uvCorner2.y);
        vh.AddVert(vert);

        vh.AddTriangle(i+0,i+2,i+1);
        vh.AddTriangle(i+3,i+2,i+0);
    }

    // actually update our mesh
    protected override void OnPopulateMesh(VertexHelper vh)
    {
        // Let's make sure we don't enter infinite loops
        if (GridCellSize <= 0)
        {
            GridCellSize = 1f;
            Debug.LogWarning("GridCellSize must be positive number. Setting to 1 to avoid problems.");
        }

        // Clear vertex helper to reset vertices, indices etc.
        vh.Clear();

        // Bottom left corner of the full RectTransform of our UI element
        var bottomLeftCorner = new Vector2(0,0) - rectTransform.pivot;
        bottomLeftCorner.x *= rectTransform.rect.width;
        bottomLeftCorner.y *= rectTransform.rect.height;

        // Place as many square grid tiles as fit inside our UI RectTransform, at any given GridCellSize
        for (float x = 0; x < rectTransform.rect.width-GridCellSize; x += GridCellSize)
        {
            for (float y = 0; y < rectTransform.rect.height-GridCellSize; y += GridCellSize)
            {
                AddQuad(vh,
                    bottomLeftCorner + x*Vector2.right + y*Vector2.up,
                    bottomLeftCorner + (x+GridCellSize)*Vector2.right + (y+GridCellSize)*Vector2.up,
                    Vector2.zero, Vector2.one); // UVs
            }
        }

        Debug.Log("Mesh was redrawn!");
    }
Note that in the AddQuad() function, we set position, uv, and color! Since in the UI material, texture is multiplied with the color by default. Leaving this at default, i.e. (r=0,g=0,b=0,a=0), this will yield 100% transparent material. So all you see is nothing, and if you are wondering why, this might be it. Here we use the component’s inherited color slot.
Since we want our grid to update whenever the RectTransform is resized, we should also override OnRectTransformDimensionsChange():
    protected override void OnRectTransformDimensionsChange()
    {
        base.OnRectTransformDimensionsChange();
        SetVerticesDirty();
        SetMaterialDirty();
    }
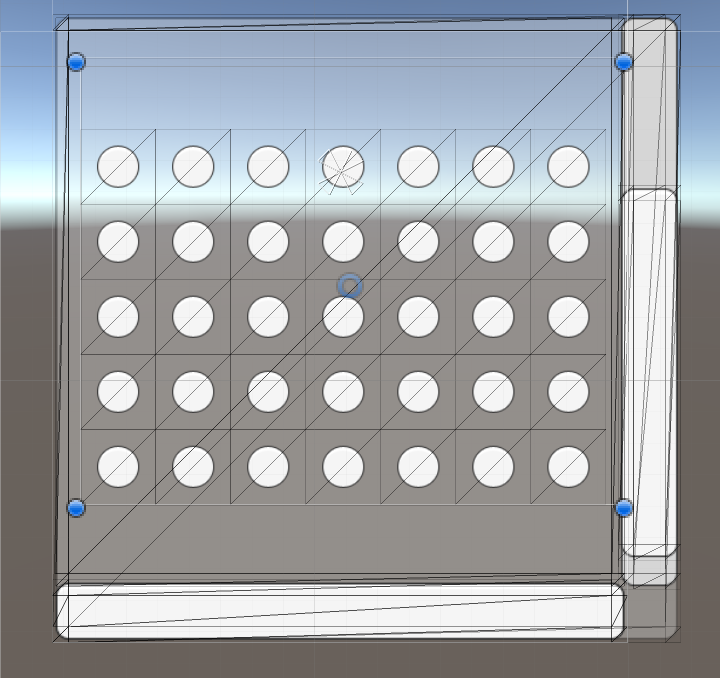
This should do. Now, back to our Unity scene, we should see a grid of white squares inside our RectTransform. To change this, we can select one of Unity’s default textures in our texture slot.
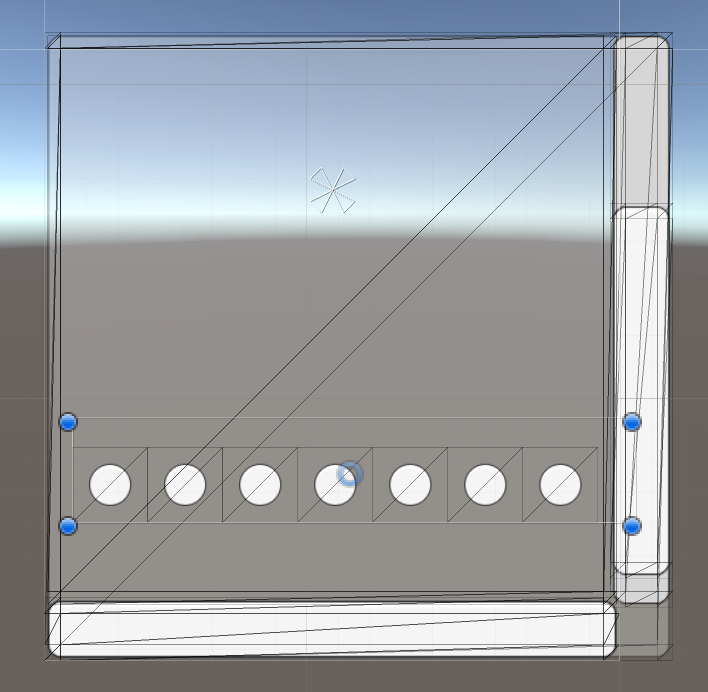
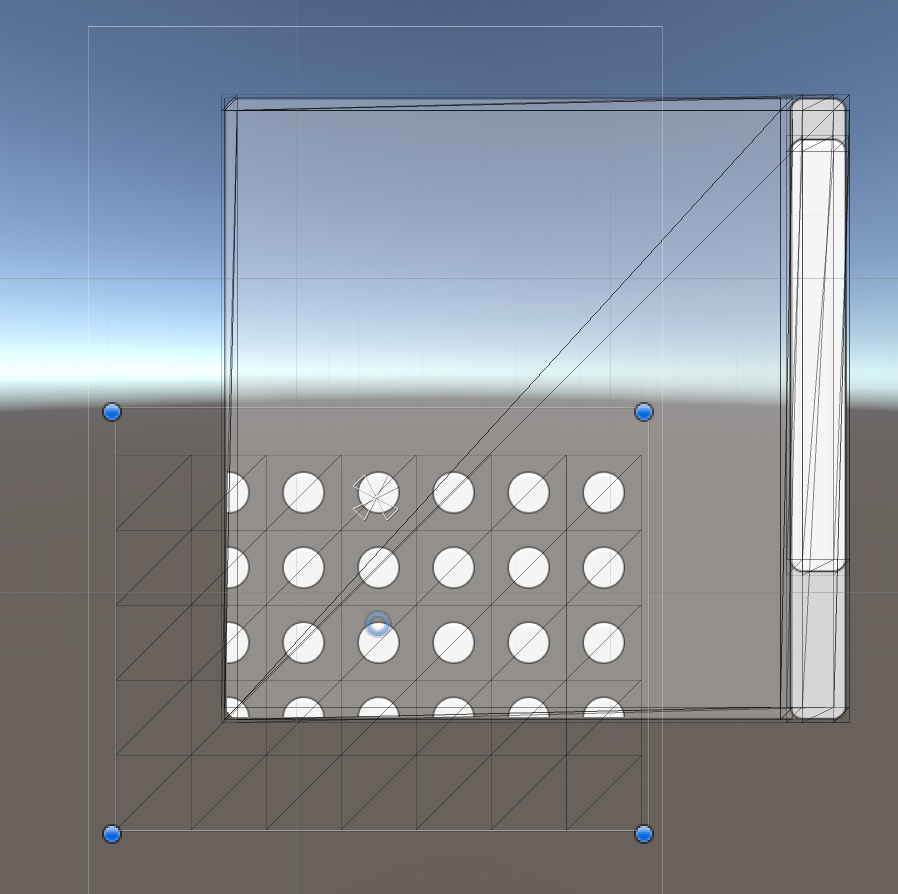
Adjusting the size of the RectTransform or the value of our grid cell size, we can see that the grid updates automatically. Going into play mode, we should also be able to drag around the scroll view’s contents and have the grid be masked correctly.
Conclusion
You can have a look at the full code example, here.
Of course, we are not limited to rendering quads, either, since the basic geometry we created here consist of triangles. So any 2D mesh should be possible to draw, and in principle it could be animated, too!
Anyway, if anything in my writeup is unclear, don’t hesitate to ask questions in the comments or via Twitter, @hallgrimgames.
Good luck with your project!
[Edit History]
2023-09-30converted blog post from old website to new website format.- Original Title: How to Implement Custom UI Meshes in Unity